Part 1- Intro and Materials
A ninja star is a simple origami figure, made from 8 pieces of paper. The ninja star was given its name because of its resemblance to, well, ninja stars, as well as its ability to transform. Pulling or pushing pieces of the ninja star in or out will cause it to transform into a donut-like ring or an eight pointed star.
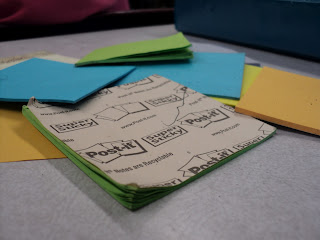
You will need 8 square sheets of paper, each of the same size. You can use square self-stick notes, cut out magazine paper, newsprint, origami paper, or almost anything else you think of. Generally, slightly stiffer paper will work better for this project because it isn't apt to fall apart when your star is assembled.
Part 2- Folding the Pieces
 1. First, fold the paper in half. Open it up, and use the center crease as a guide as you fold the top two corners in, similar to as if you were to make a paper airplane.

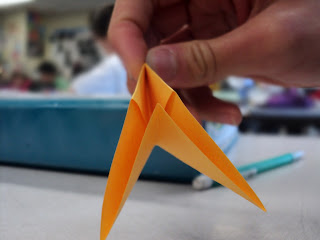
2. Then, using the same center crease, close the figure back up, so that the triangular flaps you just folded are on the inside. Remember to fold with precision and make sharp creases. Otherwise, the ninja star will not assemble correctly.


3. As shown in the diagram, push the opposing corner in. Align the center creases together, then flatten. The figure now looks like a parallelogram. The folds for the project really are not difficult, they just require you to be accurate and precise.


Part 3- Assembling the Star
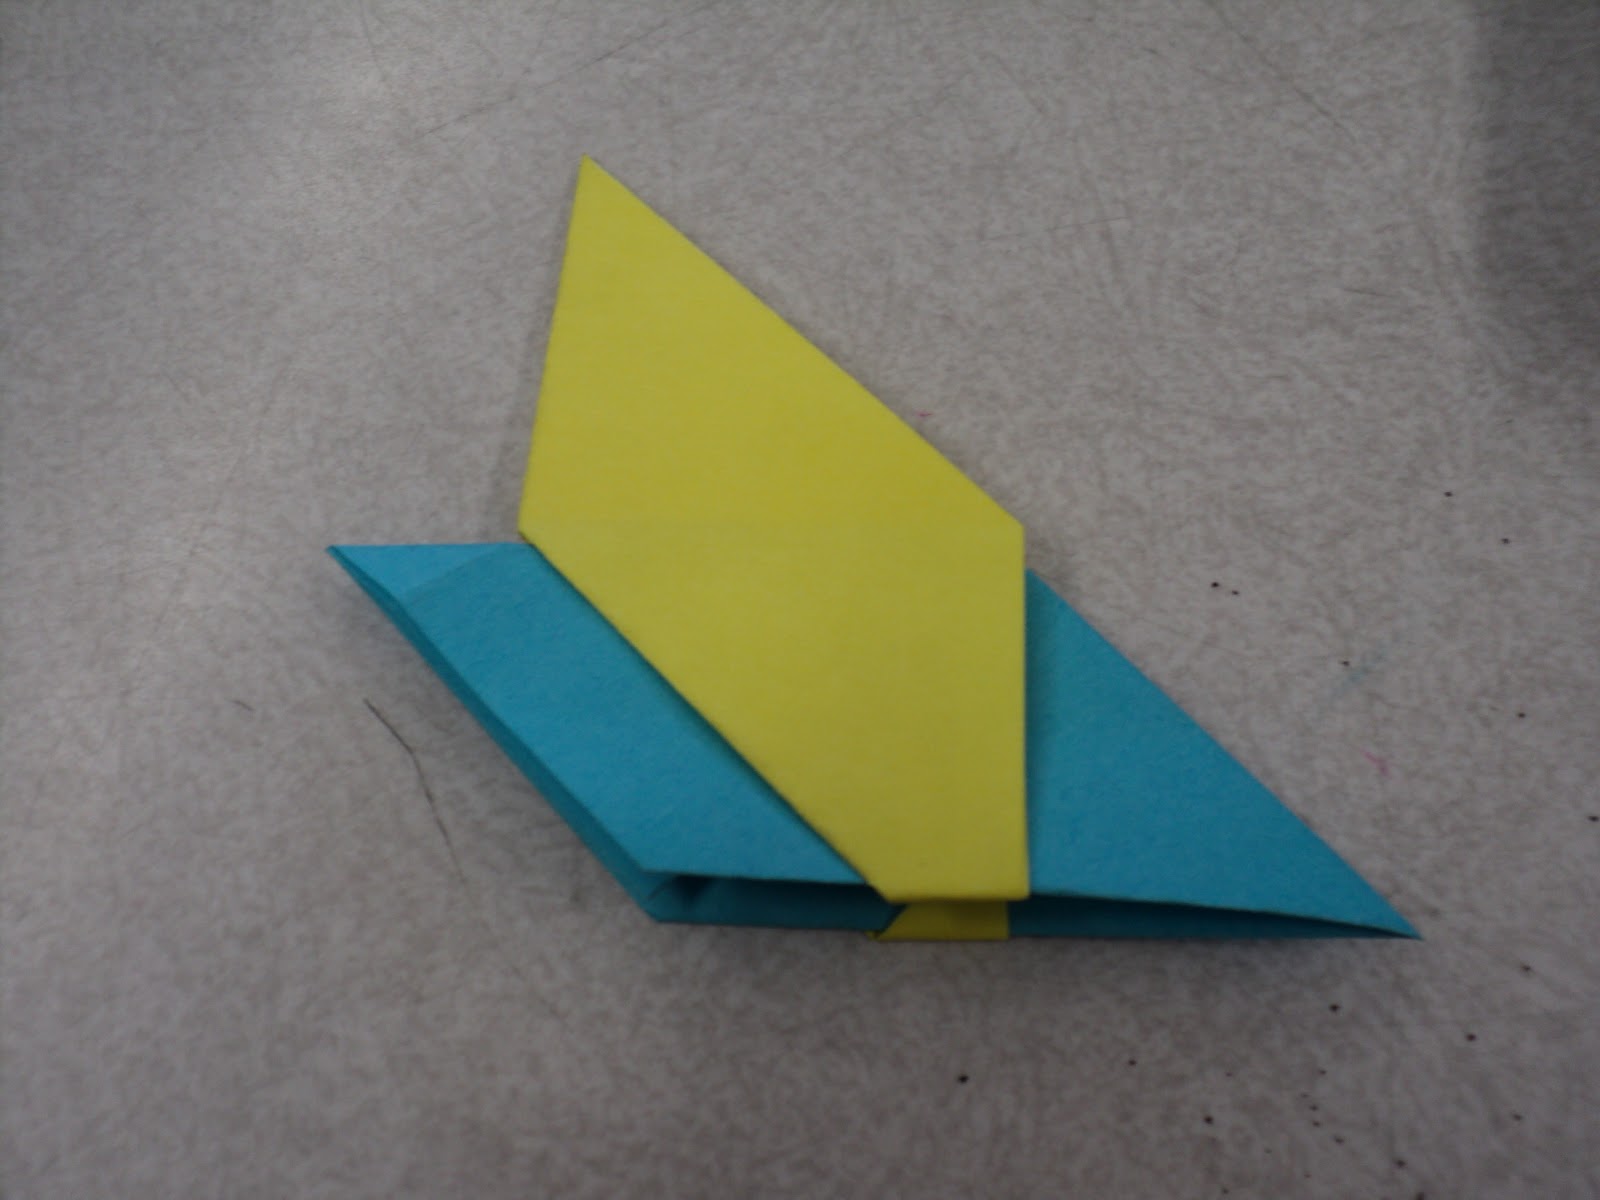
For many, this is the most difficult or confusing part of making a ninja star. It's very important to do this part right, and make your creases tight, otherwise your ninja star will fall apart.
5. First hold one of the pieces like this, with the point facing left and the open end facing right. Take a second piece and hold a second piece vertically, with point facing up and open end facing down. the vertical piece (piece A) should be above the horizontal piece (piece B).
 6. Now, slide piece B into piece A, so that flaps of piece A "hug" piece B.

 7. You will notice that the little corners of piece A are sticking out. Tuck these corners into the open end of piece B.

8. Now, continue adding pieces to the ninja star like so. When you get to the last piece, things will start to get a little tricky. you must put the open flaps of the piece over the preceding one, but stay between the flaps of the first one.


9. When you have the pieces in the right paces, carefully tuck the corners in, so you don't undo any of the other pieces.
Congrats!!! You've finished making your very own ninja star! Now, practice playing with it (THIS IS THE MOST IMPORTANT STEP!) Grasp two opposing fingers and pull on the ninja star. Continue with each "set" of pieces until your ninja star is completely transformed!
If all has gone well, you now have an amazing ninja star of your own. Now, go show it off to your friends.
A ninja star is a simple origami figure, made from 8 pieces of paper. The ninja star was given its name because of its resemblance to, well, ninja stars, as well as its ability to transform. Pulling or pushing pieces of the ninja star in or out will cause it to transform into a donut-like ring or an eight pointed star.
You will need 8 square sheets of paper, each of the same size. You can use square self-stick notes, cut out magazine paper, newsprint, origami paper, or almost anything else you think of. Generally, slightly stiffer paper will work better for this project because it isn't apt to fall apart when your star is assembled.

Part 2- Folding the Pieces


2. Then, using the same center crease, close the figure back up, so that the triangular flaps you just folded are on the inside. Remember to fold with precision and make sharp creases. Otherwise, the ninja star will not assemble correctly.


3. As shown in the diagram, push the opposing corner in. Align the center creases together, then flatten. The figure now looks like a parallelogram. The folds for the project really are not difficult, they just require you to be accurate and precise.


4. Your figure should now look like the first picture when opened up, and the second one when folded properly.


Part 3- Assembling the Star
For many, this is the most difficult or confusing part of making a ninja star. It's very important to do this part right, and make your creases tight, otherwise your ninja star will fall apart.
5. First hold one of the pieces like this, with the point facing left and the open end facing right. Take a second piece and hold a second piece vertically, with point facing up and open end facing down. the vertical piece (piece A) should be above the horizontal piece (piece B).


8. Now, continue adding pieces to the ninja star like so. When you get to the last piece, things will start to get a little tricky. you must put the open flaps of the piece over the preceding one, but stay between the flaps of the first one.


9. When you have the pieces in the right paces, carefully tuck the corners in, so you don't undo any of the other pieces.
Congrats!!! You've finished making your very own ninja star! Now, practice playing with it (THIS IS THE MOST IMPORTANT STEP!) Grasp two opposing fingers and pull on the ninja star. Continue with each "set" of pieces until your ninja star is completely transformed!
If all has gone well, you now have an amazing ninja star of your own. Now, go show it off to your friends.
No comments:
Post a Comment